

Japanese mayo is my go-to condiment for sandwiches, pasta salads, and simple vegetable dishes. Packed with fruity notes and infused with umami, it's become a favorite among famous chefs (David Chang calls it “the best mayonnaise in the world”). Let me show you how to make it at home in less than 10 minutes!
I have two Japanese mayo recipes for you today – one is made from scratch while the other uses ready made mayonnaise mixed with some easy-to-find ingredients.
They are both easy to make and super delicious!
What is Japanese Mayo?
When people refer to Japanese mayo they are talking about one specific brand of mayonnaise – Kewpie Mayo (キューピーマヨ). The mayonnaise is sold in a soft clear plastic bottle with a red squeeze cap and has a kewpie doll as a logo.
Toichiro Nakashima invented Kewpie mayo in 1924 after a trip to the US where he discovered mayonnaise. He brought the idea back to Japan with the goal of creating his own mayonnaise – one that would be nutritious and tasty enough for everyone to enjoy.
What Does Kewpie Mayonnaise Taste Like?
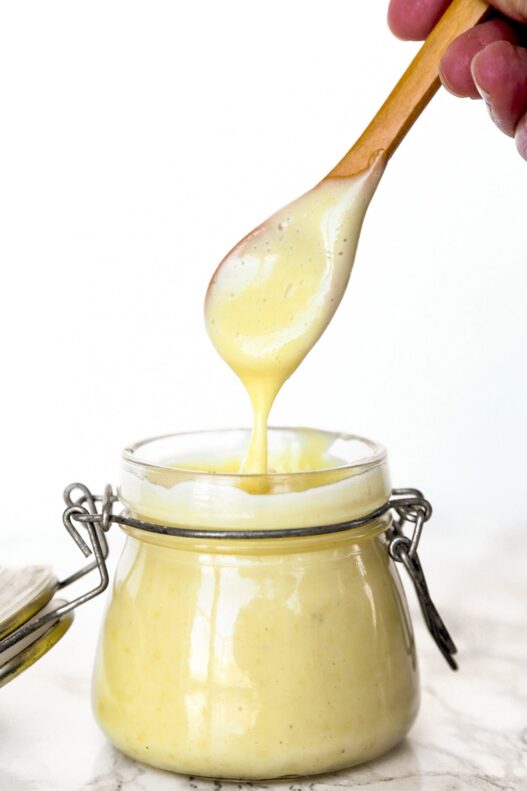
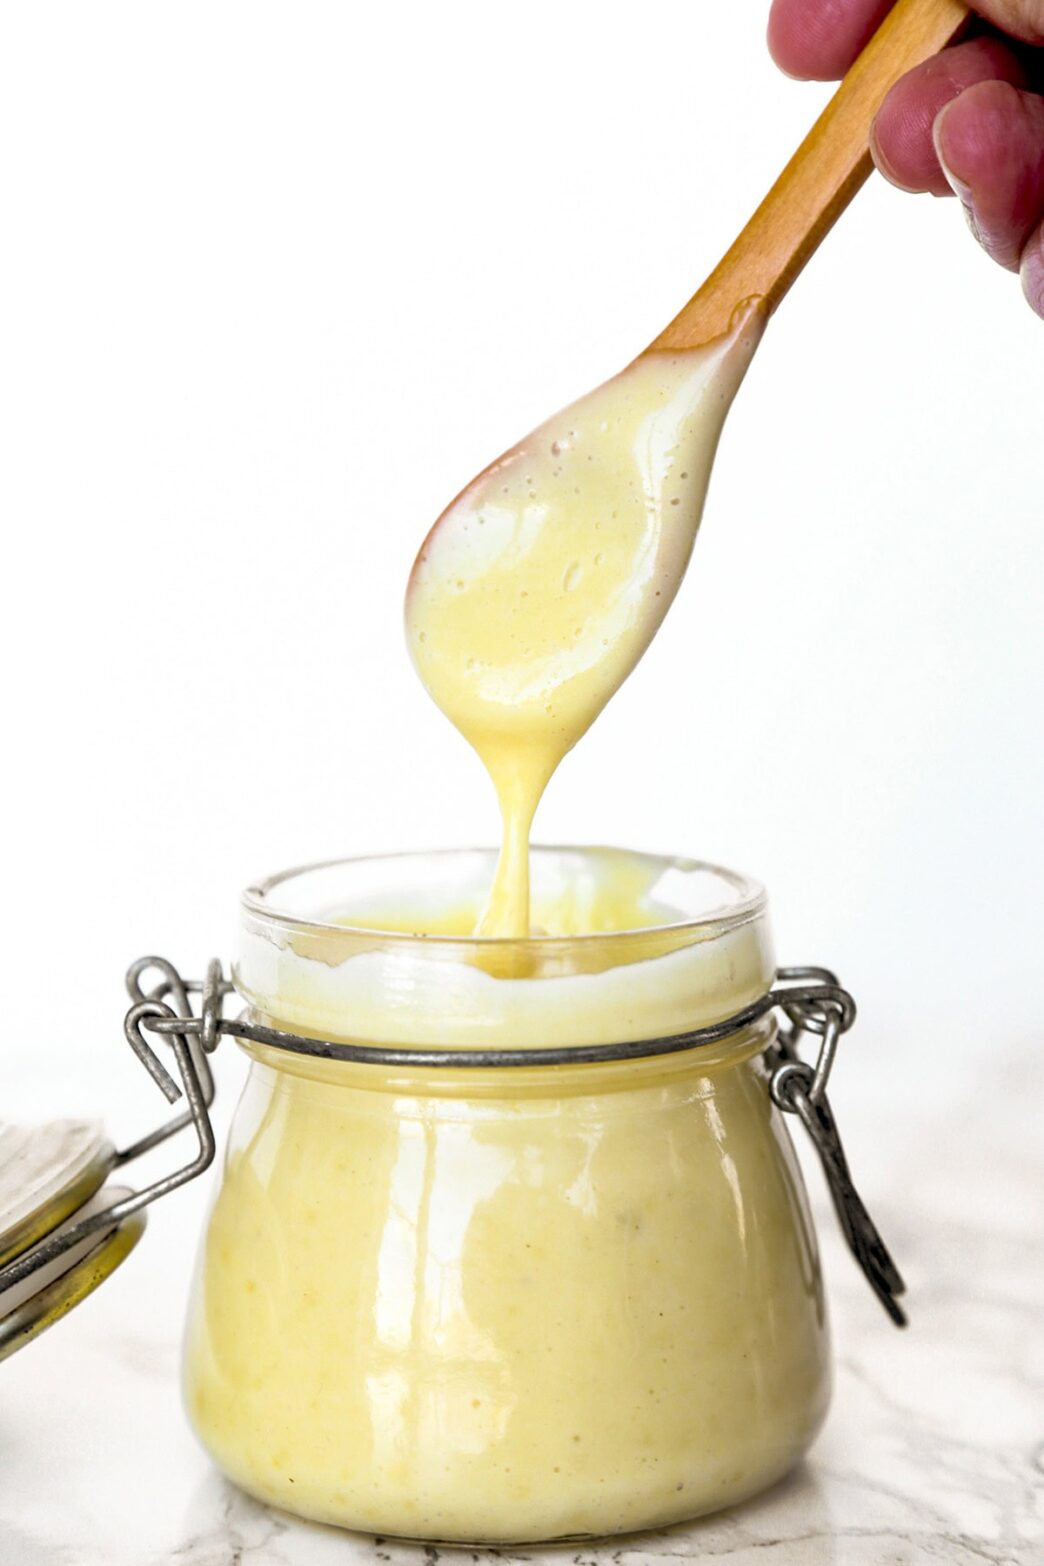
Kewpie mayo is sweet and fruity, has a hint of umami and an assertive eggy taste. It's a less sweet version of Miracle Whip and has a richer flavor than the original Spanish mayonnaise. It's light yellow in color and the consistency is thicker than regular mayo.
It's important to note that the Kewpie mayo sold in Japan tastes slightly different than the US version. That's because MSG is used in the Japanese recipe for an added kick of umami but has been removed here in the US because it's still viewed as a bad ingredient (this myth has been debunked for years by the way, you can read all about it here).
So if you want to taste the real thing you will have to take a trip to the land of the rising sun.
What's the Difference Between Japanese Mayo and Regular Mayonnaise?
- Regular mayonnaise is made using whole eggs, oil, vinegar (distilled, white wine, or champagne), lemon juice, salt, and sugar. The color is off white and it has a mild tangy and sweet taste.
- Japanese mayo (kewpie) is made using only the yolk part of the eggs, oil, vinegar, salt, MSG, and a mix of natural spices and flavorings. The taste is assertively bright, fruity, tangy, and eggy.
Ingredients for Homemade Japanese Mayo
- Eggs: While regular mayonnaise uses the entire egg, only the yolk is used for Kewpie mayo. You are going to need two for this recipe.
- Dashi powder: I'm using 1/4 teaspoon to add umami to the mayo but you are free to add more if you'd like it to be more funky. Don't go overboard though! I suggest only adding a few more granules at a time since dashi powder is quite flavorful.
- Dijon mustard: 1 teaspoon of dijon mustard such a Maille, which is less spicy than brands such as Grey Poupon.
- Vinegar: 2 tablespoons of rice vinegar or apple cider vinegar. Don't use plain distilled vinegar since it lacks fruitiness and tanginess.
- Sugar: Plain old granulated white sugar! Start with 1 teaspoon and work your way up from there – half a teaspoon at a time – for more sweetness.
- Salt: 3/4 teaspoon of iodized salt or 1 teaspoon kosher salt.
- Grapeseed oil: 1 cup of grapeseed oil or other neutral oil such as organic canola oil.
How To Make Japanese Mayo
- Mix the ingredients. Put all the ingredients, except for the grapeseed oil, in a food processor and mix well until the dashi, sugar, and salt have dissolved. If you don't have a food processor use a hand mixer or a whisk.
- Add the oil. Slowly add the oil while continuously mixing until the oil has emulsified. The mayo should look light yellow and be thick by now. If it's still liquidy, mix at a higher speed for a few seconds longer.
- Bottle it. Transfer the Japanese mayo to a glass jar or any other storage container, and refrigerate it.
What to Serve Japanese Mayo With
There are so many yummy ways to enjoy Kewpie mayo!
You can use it as a spread for sandwiches, as a dipping sauce for a vegetable plate, French fries or other fried foods such as tonkatsu, or as a salad dressing for coleslaw and crunchy greens like romaine lettuce. It's a key ingredient in my Japanese potato salad – as well as my egg salad and Japanese potato salad sandwiches.
Here are some of my favorite dishes that I like to use Kewpie mayo with:
Did you like this kewpie mayonnaise recipe? Are there changes you made that you would like to share? Share your tips and recommendations in the comments section below!
Print
Japanese Mayo (Kewpie Style Mayonnaise)
Japanese mayo is the perfect condiment to add flavor to sandwiches, pasta salads, and simple vegetable dishes
- Prep Time: 5 minutes
- Cook Time: 0 minutes
- Total Time: 5 minutes
- Yield: 1 cup 1x
- Category: Condiment
- Method: Blending
- Cuisine: Japanese
- Diet: Gluten Free
Made From Scratch
Using Regular Mayonnaise
Made From Scratch
- Put the egg yolk, mustard, dashi powder, vinegar, salt, and sugar in a food processor, and blend until smooth. Alternatively, you can use a hand blender or whisk.
- With the food processor running, slowly add the oil and continue blending until the mixture is thick like mayonnaise.
- Add an additional teaspoon of sugar if you prefer the mayo to be sweeter. Blend again.
- Transfer to a glass jar and refrigerate for up to 2 weeks.
Using Regular Mayonnaise
- Put all the ingredients in a bowl and mix well, until the dashi and sugar have dissolved. If the texture of the mayo is a little too thin, whisk it for a minute or so using a food processor, hand mixer, or hand whisk.
- Transfer the Japanese mayo to a glass jar or any other storage container, and refrigerate it.
Notes
Japanese mayo will keep in the fridge, stored in an airtight jar or container for up to 2 weeks.
Nutrition
- Serving Size: 2 tablespoons
- Calories: 258
- Sugar: 0.6g
- Sodium: 134.6mg
- Fat: 28.4g
- Saturated Fat: 3g
- Unsaturated Fat: 19.2g
- Trans Fat: 0g
- Carbohydrates: 0.7g
- Fiber: 0g
- Protein: 0.7g
- Cholesterol: 46.1mg